
Creating ceilings/roofs and floors
Creates ceilings/roofs and floors
Button: 
Command name: CreateHorizontalElements
With CreateHorizontalElements in the Building Services window, you can create ceilings/roofs and floors in a single step.
-
Confirm the selection with the Enter key or by right-clicking.
-
To do this, open the 1 tab for the entry Floor slab, Ceiling and Floor and assign the U-values.
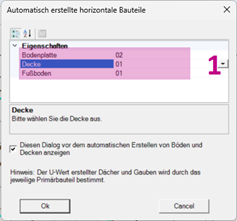
The created ceilings are shown with orange crosses, the floors are shown in brown (floor slab) or hatched orange. No ceilings and floors are created for rooms that extend over several storeys (e.g. stairwell) and whose room numbers have been edited accordingly.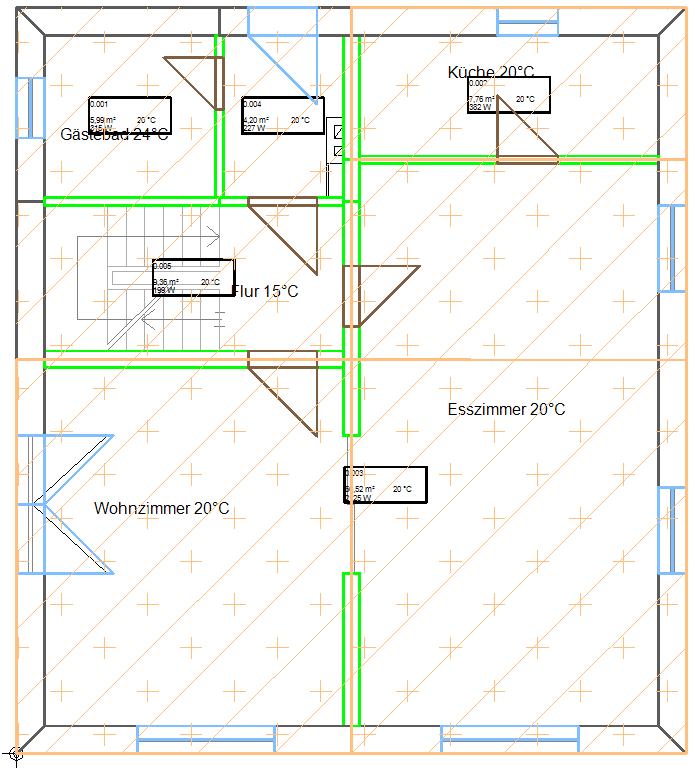
-
To do this, open the 1 tab for the entry Floor slab, Ceiling and Floor and assign the U-values.
-
You can make changes to the components at any time.
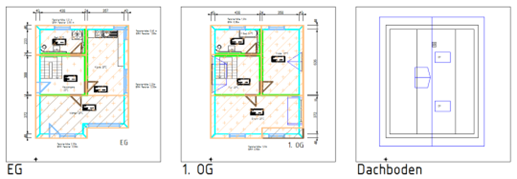
Tip:No ceilings should be created on the floors where there are also roof areas (e.g. top attic). The corresponding roof shape is usually tapped here afterwards.
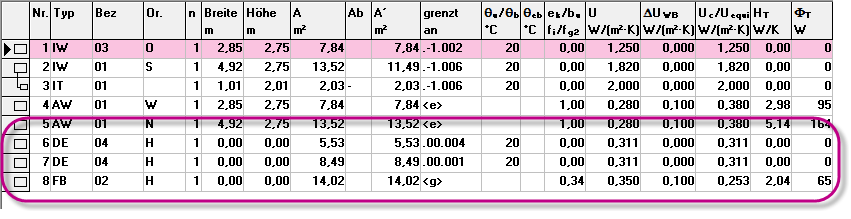
The newly created floor and ceiling components are displayed in the Area table tab of the room view.
Tip:
You can also check the building model using the command Show 3D model.
