
Create ceilings/roofs
Create ceilings/roofs
Button: 
Command name: CreateCeilingAndRoofs
You can use CreateCeilingAndRoofs to create ceilings and roofs.
-
Confirm your selection with the Enter key.
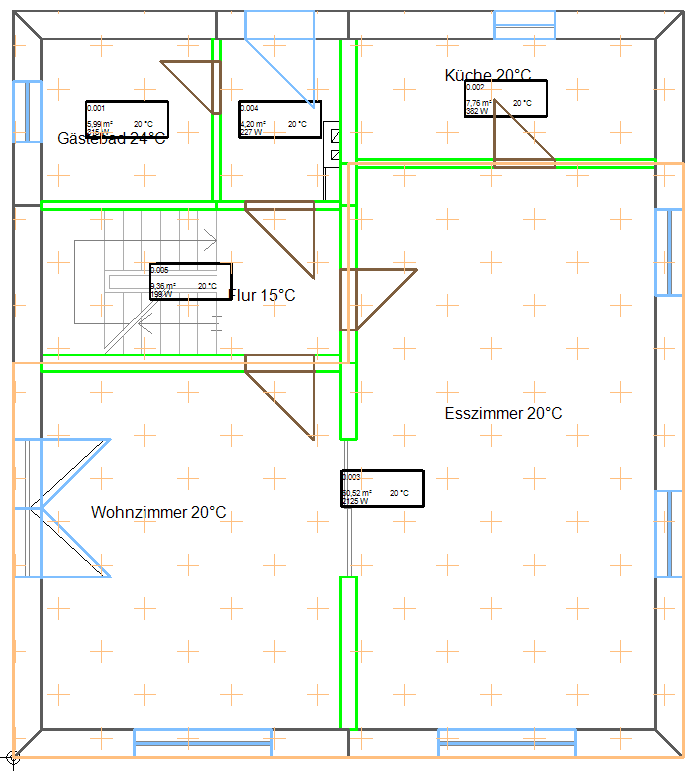
The created ceilings are displayed with orange-coloured crosses. No ceilings are created for rooms that extend over several storeys (e.g. stairwell) and whose room numbers have been edited accordingly.
 Click here for the video - Create heating load project for ceilings, roofs and floors
Click here to watch the video - Create heating load roof project
Click here to watch the video - Create dormer windows heating load project
Click here to watch the video - Creating dormers in the graphical recording