
Pick up/edit roof/dormer geometry
Grips roofs or dormers
Button: 
Command name: GripRoof
-
Grip roofs with the DA button.
-
In the Edit roof/dormer geometry dialogue, enter the height of the tilt axis around which the roof/dormer is tilted, the roof pitch or the height of the point used to determine the roof pitch. You can copy the values for the tilt axis and the eaves height from the drawing using the
 button.
The roof areas are shown in red.
button.
The roof areas are shown in red.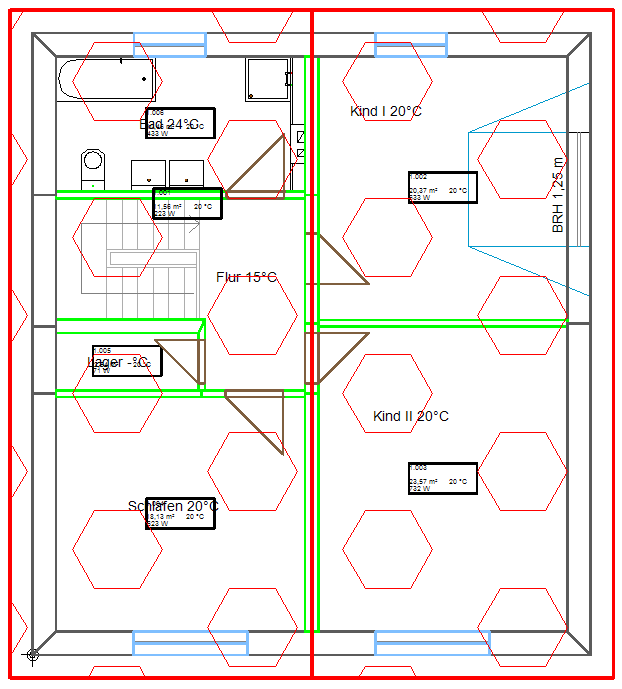 Note:The eaves height and pitch are determined automatically by entering the other value in each case.
-
In the Edit roof/dormer geometry dialogue, enter the height of the tilt axis around which the roof/dormer is tilted, the roof pitch or the height of the point used to determine the roof pitch. You can copy the values for the tilt axis and the eaves height from the drawing using the
-
Use the GA button to select dormers.
-
Select the highest points of the dormer (1, 2).
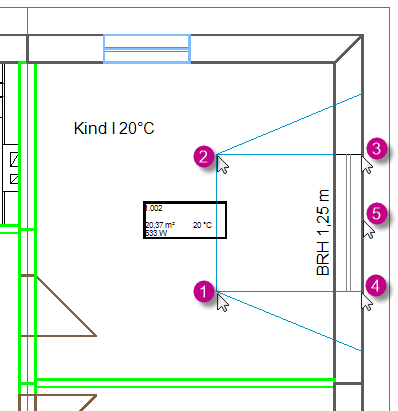
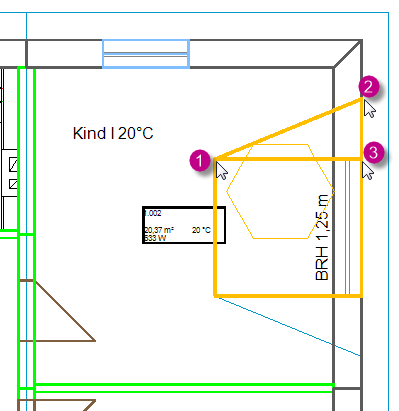
Note:When creating dormers, proceed in exactly the same way as when creating the roof. With dormer cheeks, you usually only have three points to pick up. The "Using three points" tab is displayed in the dialogue. All known heights are already entered. For some input fields, you can copy heights from the drawing. The greatest height from the roofs is determined.Note:You always create primary roofs/dormers. Primary roofs are used to enter the roof geometry and are therefore not displayed in the heating load calculation. -
In the Edit roof/dormer geometry dialogue, enter the height of the tilt axis around which the roof/dormer is tilted, the roof pitch or the height of the point for determining the roof pitch. You can copy the values for the tilt axis and the eaves height from the drawing using the button.
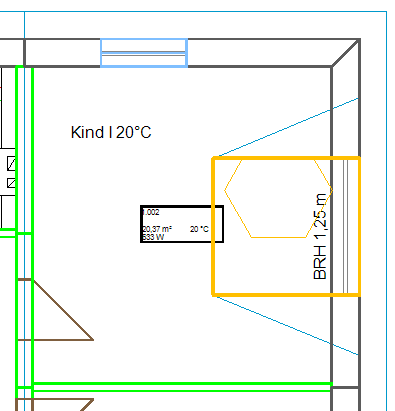
Note:The eaves height and pitch are determined automatically by entering the other value in each case.The dormer is shown in orange in the drawing.
-
The command is still active, select three points on the dormer cheek (1 , 2 , 3) and close the surface at the first point or with the Enter key.
-
Select the highest points of the dormer (1, 2).
 Click here to watch the video - Create dormer window heating load project
Click here to watch the video - Create dormers in the graphical recording