
Edit header and footer
In the Project and application settings dialogue, you can enter and edit the information to be displayed in the headers and footers.
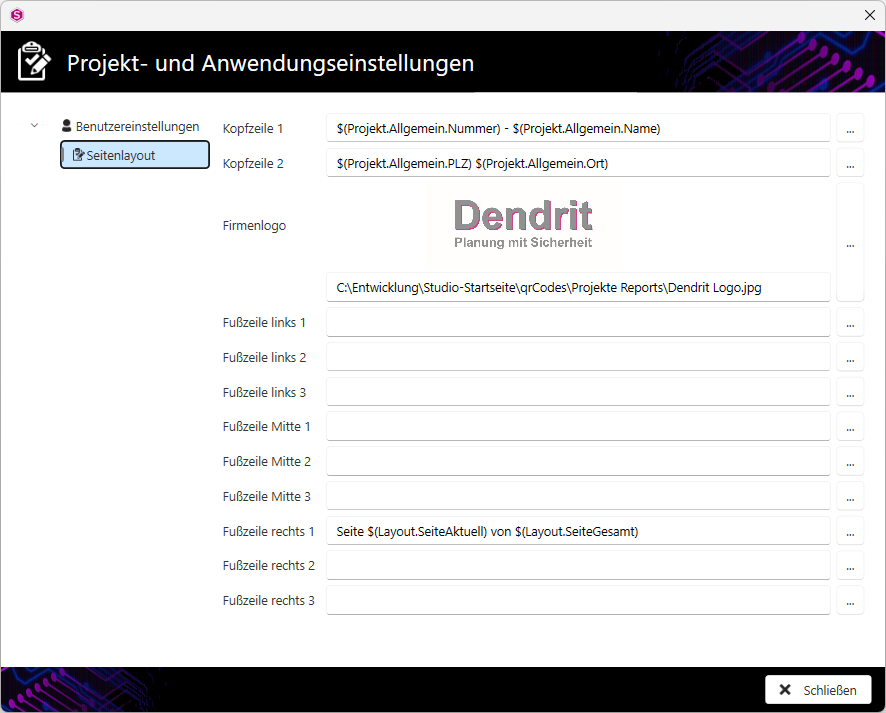
The header consists of two lines(Header 1 and Header 2), the text in the header is left-aligned. The logo in the header is output right-aligned.
- Enter the information for the top line in the Header 1 text field.
- Enter the information for the bottom line in the Header 2 text field.
You can insert a logo by entering the file path in the Company logo text field. Alternatively, click on the button with the three dots on the right, navigate to the storage location and select the image file that you would like to use as the company logo.
The footer consists of three rows(footer 1, footer 2, footer 3) and three columns(left, centre, right).
- Enter the information in the corresponding text field or use variables.
Tip:
Enter your own company's contact details as text if you want the contact details to be displayed in the same way across all projects.
You can find more information on our YouTube channel.
